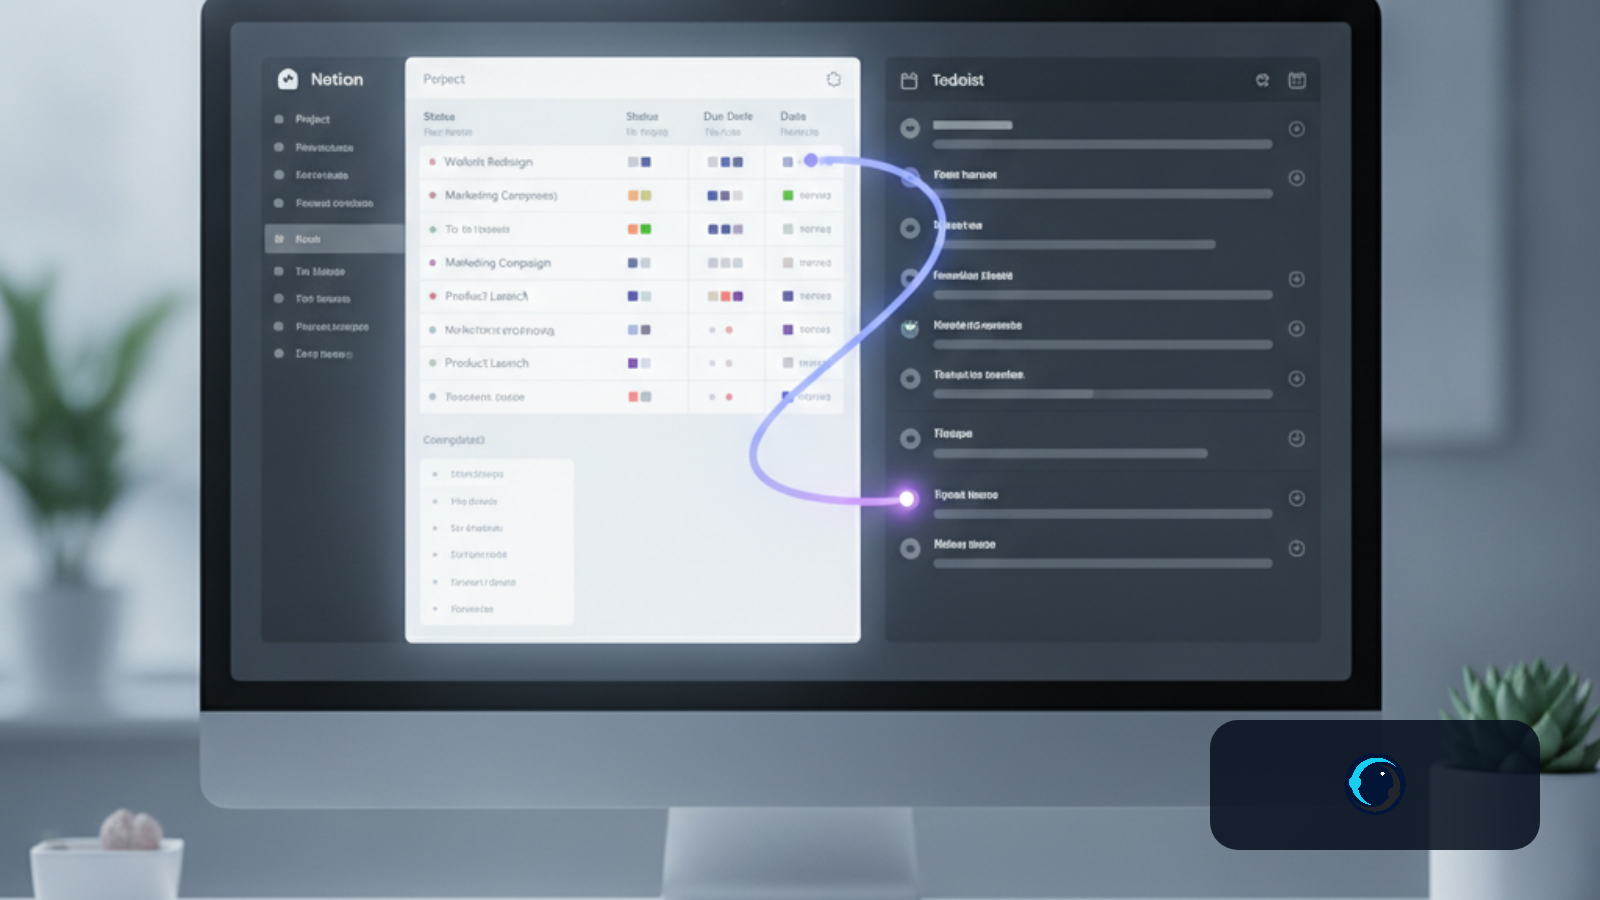
Activate this automation on N8nPort with one click
We have completed the workflow installation, node configuration, and setup for you, so the automation is ready to activate without a manual import or node-by-node configuration.
Quick answers
What does this workflow do for Notion and Todoist users?
This workflow keeps your tasks and their details synchronized in real time between a Notion database and a Todoist project, ensuring consistency across both platforms.
How does this workflow prevent duplicate tasks or endless update loops?
The workflow uses Redis for caching and locking mechanisms, which helps to prevent tasks from being duplicated or getting stuck in continuous update loops during synchronization.
What Notion database properties are essential for this sync to work?
You need specific Notion properties like "Name" (Text), "Status" (Status), "Priority" (Select), "Due" (Date), "Focus" (Checkbox), and "Todoist ID" (Text) for the workflow to correctly map and sync tasks.
Is a paid Notion plan required for the real-time synchronization?
While a Notion paid plan allows for direct webhook automations, the workflow also supports a Notion Webhook Emulator option, which does not require a paid Notion subscription.
This workflow establishes a detailed, real-time two-way synchronization between Notion databases and Todoist projects. It ensures that tasks, their statuses, priorities, due dates, and other key details are consistently updated across both platforms. The setup includes initial configuration helpers, a scheduled full synchronization, and event-driven updates for immediate changes, all while using Redis for intelligent caching to prevent conflicts and ensure data integrity.
Key Questions
What does this workflow do for Notion and Todoist users? This workflow keeps your tasks and their details synchronized in real time between a Notion database and a Todoist project, ensuring consistency across both platforms.
How does this workflow prevent duplicate tasks or endless update loops? The workflow uses Redis for caching and locking mechanisms, which helps to prevent tasks from being duplicated or getting stuck in continuous update loops during synchronization.
What Notion database properties are essential for this sync to work? You need specific Notion properties like "Name" (Text), "Status" (Status), "Priority" (Select), "Due" (Date), "Focus" (Checkbox), and "Todoist ID" (Text) for the workflow to correctly map and sync tasks.
Is a paid Notion plan required for the real-time synchronization? While a Notion paid plan allows for direct webhook automations, the workflow also supports a Notion Webhook Emulator option, which does not require a paid Notion subscription.
Quick Overview
This n8n workflow provides a useful, real-time two-way synchronization solution for tasks between Notion and Todoist. It helps keep your task management consistent, whether you prefer working in Notion or Todoist. The system includes a setup phase to configure your Notion database and Todoist project, a scheduled full sync to catch any missed changes, and immediate updates triggered by changes in either application. Redis is integrated to manage synchronization states and prevent data conflicts.
What This Workflow Does
The core purpose of this workflow is to maintain a consistent state for your tasks across Notion and Todoist. It handles several key synchronization scenarios:
Initial Setup: Guides you through selecting your Notion database and Todoist project, generating a configuration for the sync.
Scheduled Full Sync: Periodically checks for differences between Notion and Todoist tasks, updating or creating items as needed. This ensures long-term consistency.
Real-time Notion to Todoist Sync: When a task is updated in Notion, the workflow immediately reflects those changes in Todoist. This includes task name, priority, status (mapped to Todoist sections), due dates, and completion status.
Real-time Todoist to Notion Sync: Similarly, changes made in Todoist, such as updating a task, marking it complete, or deleting it, are promptly synchronized back to Notion.
Conflict Prevention: Uses Redis to implement locking mechanisms, which helps avoid issues like duplicate tasks or infinite update loops when changes occur rapidly in both systems.
Email Reporting: Generates an HTML email report summarizing all changes made during the scheduled full sync, providing an overview of the synchronization activity.
How It Works
The workflow operates in several distinct parts to achieve its two-way synchronization:
1. Setup Helpers
Notion-Todoist Sync Setup Helper: This initial form trigger gathers necessary information, such as your chosen Notion database and Todoist project, and their respective sections. It then generates a JSON configuration that you copy into the 'Globals' nodes of the main sync workflows.
Todoist Webhook Setup Helper: This helper helps the activation of the Todoist webhook. It guides you through the OAuth process, requiring your Todoist Developer App's Client ID and Client Secret to authorize n8n to receive real-time updates from Todoist.
2. Scheduled Full Synchronization (Notion to Todoist)
A schedule trigger initiates this part, typically once a day. It performs the following actions:
Retrieves all relevant tasks from your Notion database (excluding 'Done' and 'Obsolete' statuses) and your Todoist project.
Compares these datasets to identify tasks that are new in Notion, updated in Notion, or completed/deleted in Notion but still present in Todoist.
For new Notion tasks, it creates corresponding tasks in Todoist and stores the Todoist ID back in Notion.
For updated Notion tasks, it updates the corresponding Todoist task, including content, priority, description (with a link back to Notion), and section (based on Notion status).
If a Notion task is marked 'Done' or 'Obsolete', the corresponding Todoist task is completed or deleted.
Redis is used to temporarily lock Todoist task IDs during updates to prevent immediate re-triggering of the Todoist-to-Notion sync.
Finally, an HTML email report is generated and sent via Gmail, detailing all changes applied to Todoist during this full sync.
3. Real-time Notion to Todoist Diff Sync
This part is triggered by a Notion webhook whenever a property in your Notion database is edited. It focuses on immediate, incremental updates:
It first checks a Redis cache to see if the Notion task ID is currently locked, which would indicate it was just updated by the Todoist-to-Notion sync, preventing a loop.
It retrieves the latest Notion task data.
Maps Notion properties (Name, Status, Priority, Due, Focus) to Todoist task fields.
If the Todoist task ID is not yet stored in Notion, it creates a new task in Todoist and updates the Notion page with the new Todoist ID.
If the Todoist task exists, it updates the task in Todoist with the Notion changes. This includes handling status changes by moving tasks between Todoist sections or marking them complete/incomplete.
Redis is used to set a lock on the Todoist ID after an update, preventing the Todoist webhook from immediately triggering a reverse sync.
4. Real-time Todoist to Notion Diff Sync
This part is triggered by a Todoist webhook whenever a task is added, updated, completed, uncompleted, or deleted in the configured Todoist project:
Similar to the Notion-to-Todoist sync, it first checks a Redis cache for a lock on the Todoist task ID to prevent loops.
It retrieves the latest Todoist task data.
Maps Todoist properties (content, priority, section, due date, completion status) to Notion page properties.
If the Notion page for the Todoist task is not found, it creates a new page in Notion.
If the Notion page exists, it updates the page with the Todoist changes. This includes updating task name, priority, status, and due date.
Special handling is in place for Todoist task deletions, which mark the corresponding Notion page as 'Obsolete'.
Redis is used to set a lock on the Notion ID after an update, preventing the Notion webhook from immediately triggering a reverse sync.
Prerequisites
Before setting up this workflow, you need to prepare a few things:
Notion Setup
An existing Notion database. You can use a basic template like this one.
The database must have the following properties (case-sensitive):
Name(Text type)Status(Status type), with options including at least "Backlog", "In progress", "Done", "Obsolete"Priority(Select type), with options "do first", "urgent", "important"Due(Date type)Focus(Checkbox type)Todoist ID(Text type)
Todoist Setup
An existing Todoist project.
The project should have sections that match your Notion "Status" options (excluding "Done" and "Obsolete"). For example, if Notion has "Backlog", "In progress", "On hold", Todoist should have corresponding sections.
Redis Setup
A Redis instance. You can create a Free Redis Cloud instance or self-host one.
n8n Credentials
You will need to set up credentials in your n8n instance for the following applications:
Notion API: Refer to the n8n Notion credentials documentation for setup instructions.
Todoist API: Refer to the n8n Todoist credentials documentation. Note that Todoist credentials are also used in HTTP Request nodes within the workflow.
Redis: Refer to the n8n Redis credentials documentation.
Gmail OAuth2: If you plan to use the email reporting feature, set up Gmail OAuth2 credentials.
Service-specific API credential (if configured): This may be needed for certain HTTP Request nodes if not using the Todoist API credential directly.
Ready to automate?
The complete installation and configuration are already prepared for your workspace. Activate the preconfigured workflow on N8nPort with one click.
Step-by-Step Setup
Follow these steps to get your Notion and Todoist two-way sync running:
Step 1: Initial Setup and Workflow Cloning
Ensure your Notion database and Todoist project are set up as described in the Prerequisites section.
Set up your Redis instance.
Configure all required credentials (Notion API, Todoist API, Redis, Gmail OAuth2) in your n8n instance.
Clone this workflow into your n8n environment.
Map the cloned workflow's nodes to your newly created credentials.
Look for yellow sticky notes within the workflow; they provide one-time setup instructions.
Step 2: Generate Config JSON for Globals Nodes
In the cloned workflow, locate the section labeled "1. Generate config JSON for Globals Nodes".
Verify that the credentials in the Notion and Todoist nodes within this section are correctly set.
Publish this specific helper workflow.
Open the production URL of the "Notion-Todoist Sync Setup Helper" form trigger.
Complete the form by selecting your Notion database and Todoist project.
Copy the resulting JSON code.
Paste this JSON code into all three "Globals" nodes located throughout the main sync workflows.
Step 3: Activate Todoist Webhook
This process involves creating a Todoist Developer App and connecting it via OAuth to activate webhook functionality.
In your Todoist App, go to Settings > Integrations > Developer > App Management.
Click "Create new integration".
Provide an App name (e.g., "Notion-Todoist Sync" or your n8n instance name).
Click "Create app".
Update the app settings:
For "OAuth redirect URL", grab the production URL from the "OAuth redirect" node in your n8n workflow (from the section labeled "3. Activate Todoist Webhook").
Click "Save settings" and keep this tab open.
Publish the n8n workflow containing the "Todoist Webhook Setup Helper" node.
Open the Production URL of the "Todoist Webhook Setup Helper" node.
Copy the Client ID and Client Secret from your Todoist App settings into the n8n form and submit it.
When prompted for permissions, click "Allow access".
Go back to your Todoist App settings tab.
Scroll down to the "Webhook" section and expand it.
For "Webhook callback URL", grab the production URL of the "Todoist Webhook" node (from the "Todoist to Notion Diff Sync" part of the workflow).
Select the following event options:
item:added,item:updated,item:completed,item:uncompleted,item:deleted.Click "Activate webhook".
Click "Save settings". You can now close the Todoist App settings.
Step 4: Setup Notion Webhook
You have two options for setting up the Notion webhook:
Option A: Notion Webhook via Automation (requires a paid Notion plan)
In your Notion database, create a new automation.
Rename the automation (e.g., "Notion-Todoist Sync").
Add a trigger: "Any property edited".
Add an action: "Send webhook".
For the URL, grab the production URL from the "Notion Webhook" node in your n8n workflow (from the "Notion to Todoist Diff Sync" part).
For Content, select all existing properties.
Click "Save".
Option B: Notion Webhook Emulator (no Notion subscription required)
Follow the instructions provided in the n8n workflow "Provide real-time updates for Notion databases via webhooks with Supabase".
Use the Webhook URL from the "Notion Webhook" node of this workflow to push the updates to.
Step 5: Finishing Touches and First Run
Cleanup: For better usability and maintainability, it is recommended to move the three main synchronization flows (Full Sync, Notion-Todoist Diff Sync, Todoist-Notion Diff Sync) into separate n8n workflows. Name them appropriately (e.g., "Notion-Todoist Full Sync (MyWorkspace)", "Notion-Todoist Diff Sync (MyWorkspace)", "Todoist-Notion Diff Sync (MyWorkspace)").
Ensure all separated workflows are activated.
First Run: Manually execute the "Notion-Todoist Full Sync" workflow first. This performs the initial synchronization.
Once the initial sync is complete, your real-time two-way synchronization should be active.
Customization Ideas
This workflow offers several points for customization to fit your specific needs:
Adjust Notion Properties: You can modify the Notion database properties or add new ones, then update the mapping logic in the 'Map Notion to Todoist' and 'Map Todoist to Notion' code nodes accordingly.
Modify Todoist Sections: If your Todoist project uses different section names, update the mapping logic in the code nodes to reflect these changes.
Change Sync Schedule: Adjust the interval of the 'Schedule Trigger' node to run the full sync more or less frequently.
Customize Email Report: Modify the 'Generate email body' node to change the content or format of the synchronization report. You can also replace the Gmail node with another email service (e.g., SMTP) or a different notification method.
Implement Todoist Webhook Router: If you need to sync multiple Todoist projects, you can set up a router workflow (as hinted in the sticky notes) to direct webhooks to specific sub-workflows for each project.
Refine Filtering: Adjust the filters in the Notion and Todoist nodes to include or exclude specific tasks based on your criteria (e.g., only sync tasks with a certain tag or label).
Limitations and Troubleshooting
Todoist Sync API Limits: Be aware of the Todoist Sync API request limit, which is 100 full syncs within a 15-minute period. The workflow uses batching to manage this, but heavy usage might require adjustments.
Notion Webhook Retries: Notion may sometimes send multiple webhooks for a single change or retry webhooks. The Redis locking mechanism helps to manage these situations and prevent duplicate actions or infinite loops.
Redis Caching: The workflow relies on Redis for temporary locking (10-15 seconds TTL) to prevent conflicts during rapid updates. Ensure your Redis instance is accessible and functioning correctly.
Error Handling for Missing Tasks: The workflow includes retry logic and error handling for cases where a task might not be immediately found (e.g., due to propagation delays or if it was deleted). If a task consistently cannot be found after retries, it will stop with an error.
Notion "Obsolete" Status: Instead of deleting Notion pages, the workflow marks them as "Obsolete" when a corresponding Todoist task is deleted. This is a safer practice to retain historical data in Notion.
Mapping Consistency: If you update the mapping logic in one direction (e.g., Notion to Todoist), remember to apply similar changes to the reverse mapping (Todoist to Notion) to maintain consistency.
Frequently Asked Questions
How does the 2-way sync work between Notion and Todoist?
The workflow uses both scheduled full synchronizations and real-time webhooks from Notion and Todoist. Changes in one app trigger an update in the other, with Redis acting as a temporary lock to prevent conflicts.What Notion properties are absolutely necessary for this workflow?
You need "Name" (Text), "Status" (Status), "Priority" (Select), "Due" (Date), "Focus" (Checkbox), and "Todoist ID" (Text) properties in your Notion database.How do I set up the Todoist webhook?
You need to create a Todoist Developer App, configure its OAuth redirect URL using an n8n helper, authorize access, and then set the webhook callback URL and select specific event types in the Todoist App settings.What role does Redis play in this synchronization?
Redis is used for caching and locking. It stores temporary flags (e.g., "lock_todoist_id") to prevent the workflow from triggering continuous updates or creating duplicates when changes happen in both Notion and Todoist almost at the same time.Can I sync multiple Todoist projects with different Notion databases?
The workflow is designed for one Notion database and one Todoist project. However, the sticky notes suggest an optional Todoist Webhook Router example that could be adapted to route webhooks to different sub-workflows for multiple projects.What happens if a task is deleted in Todoist?
If a task is deleted in Todoist, the workflow will mark the corresponding Notion page as "Obsolete" instead of deleting it, which helps in retaining historical data.
Source and Next Steps
This workflow was originally shared on the n8n.io community. You can find the source workflow and additional context here:
Realtime Notion Todoist 2-way sync with Redis on n8n.io
For further exploration, consider reviewing the n8n documentation for Notion, Todoist, and Redis integrations to deepen your understanding of their capabilities within n8n.
Activate this workflow on N8nPort
Choose your workspace and activate the fully prepared automation with one click.